By James Lee Kelley
I
am now finished with my first color on this hat and am ready to join in my next
color, as this picture shows.
I
will now mark the yarn so I will know where my join needs to be so the color
change will take place right where the arrow is pointing in this pic.
After marking
the join spot, I undo two to three stitches. You can see the mark on the yarn
better here after I have undone two stitches.
Now I am
ready to begin doing the Russian Join. In this picture you will see how I
entered the needle almost in the middle of my mark.
I am now
showing the join almost completed in this pic. You can see the mark on the yarn
and all I have to do is pull the ends and lock the join and trim the ends.
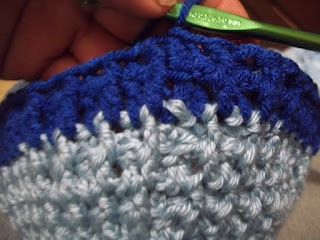
Now after
doing a few stitches you can see how the color change join looks.
The best part is NO ENDS to weave in after completion.
After two
rows the Color Change Join looks Nice and Clean to me, how about to you?


